In this guide, we’ll show you how to remove the white background from an image using many methods that suit different degrees of tech-savviness and complexity.
Removing the background from an image can be daunting at first, but you’ll learn that it’s simple with the right tools and techniques.
Choosing the method that fits your needs will depend on the complexity of the background removal, how many images you’d like to work with, and how important image quality and format are for you.
Let’s take a look.
4 Ways to Remove White Background from Images
If you’re looking for different ways to remove white backgrounds from images, let’s check out some of the best methods.
1. Online Websites
Credit: Remove.bg
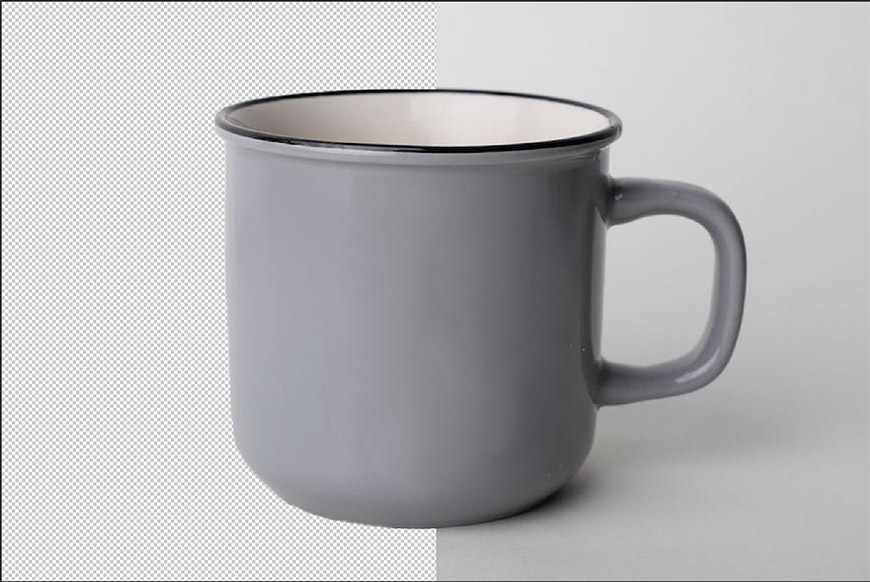
There are plenty of online background removers that can automatically remove the background color of an image.
All you have to do is upload the image and the tool will do the rest for you.
This is a great option if you’re looking for a transparent background with a clear item in the middle of the picture.
If you’re looking for a free image background remover app, Remove.bg, Clipping Magic, PhotoScissors, and Kapwing are good options.
Generally speaking, those websites are the most convenient and require little to no effort when you’re removing an image’s white background.
However, online websites don’t give you extremely accurate results all the time, and the image format isn’t always of high quality.
Also, there’s usually a limit on how many photos you can upload and remove the backgrounds of.
2. Paint 3D
If you have a Windows computer, you can use Paint 3D by opening it from the start menu.
From there, you can import the picture which background you want to remove, either by copying and pasting it or uploading it from a folder through Menu, Open, Browse Files – or Ctrl+O as a shortcut.
From the toolbar, select Magic Select, and adjust the area of focus to encompass the area of the image you want to keep.
Press Next, then see if the tool targeted the correct areas of the image. If not, you can use the Add and Remove options to readjust the area by tracing the outline or stroking the brush.
Once you’ve successfully gotten the area right, select Done. Then, you’ll have the cutout on its own, which you can move to the side and delete the rest of the picture from the canvas area by selecting it and pressing Delete.
Go back to the toolbar and toggle on Transparent Canvas from the Canvas section. Lastly, save your final picture through Menu, Save As, Image, or by pressing Ctrl+S.
Paint 3D is a good option for quick and easy background removal, and it also allows you to save the image in multiple formats.
However, it doesn’t always maintain the quality of the picture and may not be the most accurate solution.
3. Photo Editors
If you’re more tech-savvy and are willing to go through more complex steps for the most accurate results, using photo editing software would be your best bet.
Adobe Photoshop and GIMP are great tools for manual background removal, and they work extremely well if you’re seeking a specific graphic design and want to save your file formats in a certain extension.
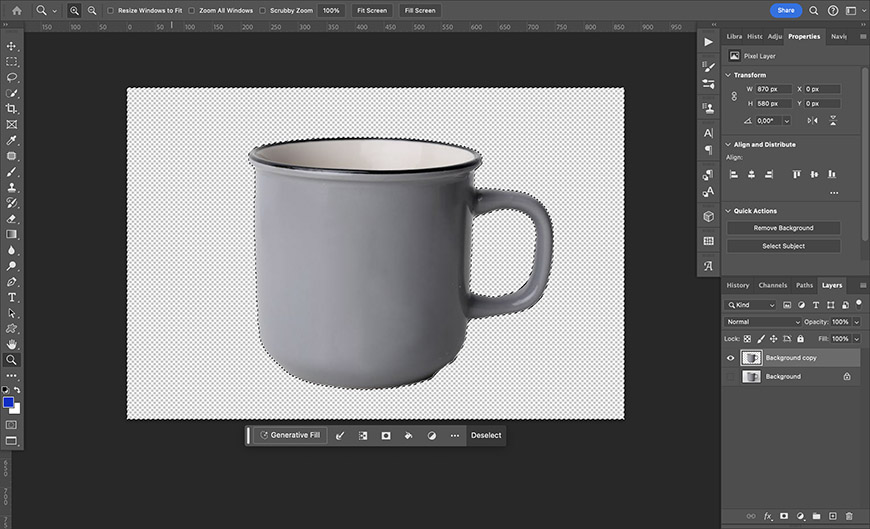
With Photoshop, you can remove the background from an image with a variety of design tools, including the Magic Wand Tool, the Lasso Tool, and the Pen Tool.
Here’s an in-depth tutorial covering how to remove background in Photoshop.
Alternatively, you can use GIMP, a free, open-source image editing software program. It gives you the same background removal tools as Photoshop, so you can use it to remove the background from your images in the same way.
Check out this tutorial for removing background in GIMP.
Using a photo editor is the ideal method if you’re looking to work with many images and you care about the final output’s quality.
Photo editors also give you the most accurate results and allow you to save the output image in multiple formats, according to the file extension you’ll need, like a PNG file or a JPEG file.
4. PowerPoint
PowerPoint makes it quite easy for you to remove a picture’s white color background – or any color or pattern for that matter.
All you have to do is insert the picture from the Insert tab by clicking on Picture, then Photo Browser. Alternatively, you can copy and paste the image, which works well if you’re using an image from a website or another source.
After that, make sure that you’re selecting the image, and you’ll see a Picture Format tab at the end of the ribbon.
When you click that, you can press Remove Background and the program will automatically remove the area that surrounds the main photo’s item, be it a person, a logo, etc.
Then, you can press Mark Areas to Keep or Mark Areas to Remove to bring back an area that was accidentally removed or get rid of something extra by using brush strokes.
However, you may need to switch between both until the algorithm understands the area you’re trying to keep.
Finally, click Keep Changes. Then, you can save the picture by right-clicking on it and choosing Save Picture As.
The best thing about PowerPoint background removal is that it doesn’t ruin the quality of the image and that you can save the file extension in multiple formats.
If you want to add a new background to your image, check out this guide – 7 Best Apps to Change a Picture Background.
Credit : Source Post


