Noise in photography is generally something you want to avoid.
Similar to unwanted background noise in an audio recording, digital noise in an image manifests as random speckles or grains that degrade its quality.
So, why does this noise appear? How can you get rid of it once it’s there? And, better yet, how do you avoid it in the first place?
DOWNLOAD LUMINAR

Fast, simple and fun way to remove noise from photos with just one click.
Use code shotkit10neo to save $10
LEARN MORE
That’s what we’ll discover in this article.
We’ll also explore how to use deliberate noise in photography for creative effect.
Let’s jump in.
What is Noise in Photography?
In digital photography, “noise” is like unwanted static you might hear on a radio – it’s extra, unwanted random specks that can show up in your photos, taking away from the main subject you’re trying to capture.
Noise in photography is often seen as random variations of brightness or color information, presenting as grainy speckles that disrupt the overall clarity and detail of a photograph.
Types of Noise in Photography
There are two primary types of noise that can affect an image – luminance noise and color noise.
Luminance Noise
Luminance noise is the monochromatic or grayscale noise that appears as tiny, randomly distributed specks over the image, often resembling film grain.
This noise type mainly affects the light and dark areas of an image, causing a loss of detail.
It’s generally less disruptive and can sometimes add a certain artistic, gritty aesthetic to the photograph, akin to an old film look.
Color Noise
Color noise, also known as chroma noise, is more disruptive. It manifests as colored pixels or speckles appearing randomly across the photo.
These off-color pixels, often showing up as red, green, or blue, can severely detract from the image’s overall quality, as they’re more noticeable and harder to correct in post-processing without loss of detail.
The presence and intensity of image noise are influenced by a variety of factors such as the camera’s sensor size, pixel density, ISO setting, exposure time, and temperature, among others.
Shot Noise
You might also hear about something called shot noise. Unlike other types, it’s not about camera settings, but about the light that hits your camera sensor.
Here’s the simple explanation: when light (made up of particles called photons) hits your camera’s sensor, it gets turned into the image you see.
But the number of photons that hit the sensor can change randomly, creating a kind of grainy noise.
Shot noise follows what’s called a Poisson distribution, which means the noise increases as the signal increases, but the signal-to-noise ratio remains constant.
As such, it can be difficult to remove shot noise in post-processing without degrading the overall image.
What Causes Noise in Photography?
Example for hotpixels on a night shot. FinePix S6500fd, ISO 800, 30 s Credit: Euku, CC BY-SA 4.0, via Wikimedia Commons
Image noise in photography can be frustrating, but it’s often just a natural outcome of capturing light digitally. Several factors can contribute to its presence in your photos.
1. High ISO Settings
ISO is a setting on your camera that affects how sensitive the camera sensor is to light.
When you increase the ISO, you’re making the sensor more sensitive, which can help when you’re shooting in low-light situations.
However, a higher ISO also increases the likelihood of digital noise in your image. It’s like turning up the volume on a radio with bad reception – you get more sound, but also more static.
2. Long Exposure Times
Sometimes, you might want to use a long exposure to capture more light or achieve certain effects, like smoothing out the ripples in a waterfall.
The downside is that longer exposures give more time for noise to creep into your image. The sensor gets warmer the longer it’s active, and this heat can cause extra noise.
3. Underexposure
Underexposure happens when your camera sensor doesn’t get enough light.
It can occur if you’re shooting in a dark environment and not adjusting your settings correctly.
When you try to brighten an underexposed image during editing, you’ll also increase the visibility of noise.
4. Hot Pixels
Hot pixels are spots on your sensor that are more sensitive to heat, causing them to appear brighter than they should.
They can show up as small, bright specks in your image, contributing to the overall noise.
These are more noticeable during long exposures or when the sensor gets hot from being used extensively.
Understanding these factors can help you make more informed decisions when setting up your shots.
You can often mitigate the impact of these noise-causing elements with the right settings and techniques, leading to cleaner and higher-quality images.
How to Reduce Noise in Photography

Noise is a common challenge in photography, but it’s not something you’re powerless against.
There are various techniques and tools you can use for noise reduction, both when taking the photo and after in post-processing.
1. Lower ISO Settings
One of the easiest ways to reduce noise is by using a lower ISO setting. This makes the sensor less sensitive to light and, therefore, less likely to produce noise.
Of course, this might mean needing more light for a good exposure. This can be accomplished by using a slower shutter speed or wider aperture, but these changes can also affect the image’s look and feel.
2. Proper Exposure
Getting the right exposure when you take the photo is crucial for maintaining image quality.
Underexposing your image (not capturing enough light) can lead to noise when you try to brighten the image later.
By using a camera setting that properly exposes the image in the first place, you can reduce the need for later adjustments that might increase digital noise.
3. Use a Tripod for Longer Exposures
If your strategy to maintain a low ISO involves using a slow shutter speed to admit more light, a tripod can be your best friend.
By stabilizing the camera, a tripod lets you use a longer exposure and thus avoid high ISO settings.
It also helps you avoid motion blur, a different kind of “noise” that can disrupt your image.
4. Post-Processing Noise Reduction
Post-processing is another stage where you can address and reduce digital noise.
Most image editing software provides noise reduction tools that analyze and smooth out areas identified as noise, enhancing the overall image quality.
Popular platforms like Adobe Lightroom and Photoshop have robust noise-reduction features.
However, caution is advised – too much noise reduction can inadvertently soften an image, removing fine details and creating an undesired “smudged” effect.
Addressing noise in your photography can often feel like a delicate balancing act. Each adjustment has a consequence, and overzealous editing can introduce new problems.
However, with an understanding of these methods to reduce digital noise, you can navigate these challenges and achieve clearer, high-quality images.
Examples of Noise in Photography
To fully understand noise in photography, it’s helpful to examine some practical examples.
Note that the exact impact of noise will vary depending on several factors, including the camera settings, the subject matter, and the viewing conditions.
Here are a few common scenarios where noise might become visible:
1. Low Light Photography

Photos taken in low-light conditions often exhibit noise.
If you’re shooting at night, or indoors without sufficient light, you may need to increase your ISO settings. This, however, tends to amplify the presence of noise in the image.
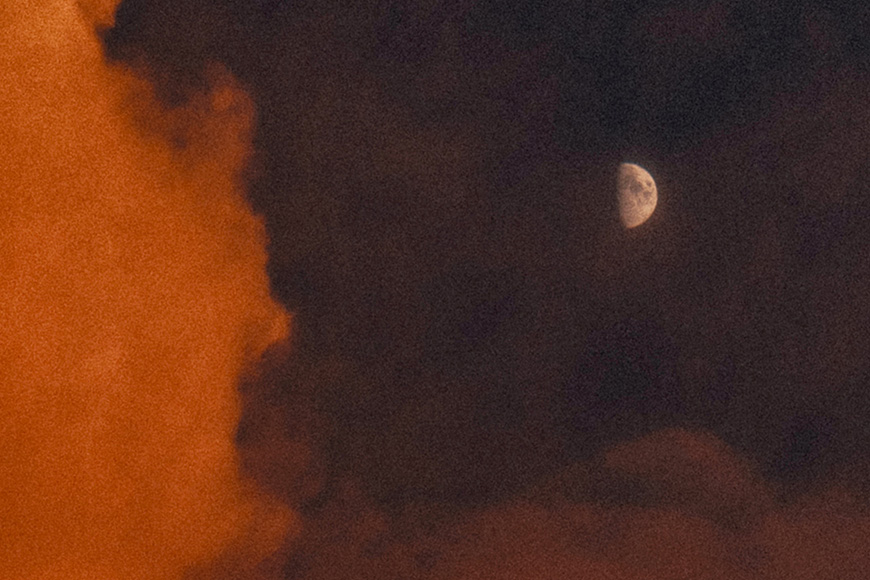
2. Long Exposures

Credit: Pixabay
If you’re capturing a landscape with a slow shutter speed to get that silky-smooth effect on water or clouds, you might see some noise in your photo.
Long exposures generate heat on the camera sensor, which can lead to increased noise.
3. High ISO Photos

Take a photo at the lowest ISO setting your camera allows, and then take another at the highest setting. Comparing these images side by side, you’ll see a noticeable difference in the amount of noise.
The high ISO image will show significantly more grain, particularly in the shadow areas.
4. Underexposed Images

If an image is underexposed and you try to brighten it in post-processing, the increase in exposure can reveal noise that wasn’t initially visible.
The noise levels are usually highest in the areas that were darkest in the original photo.
Examining these examples can provide a greater understanding of noise in photography, how it impacts image quality, and when it’s likely to appear.
This knowledge can guide you in choosing the optimal settings for each situation, as well as inform your approach to image processing.
The Artistic Use of Noise in Photography

Credit: Lisa Fotios
While noise in photography is typically seen as a detriment to image quality, it can also be used as a creative tool.
Much like the grain in old film photographs, digital noise can add a certain texture and character to an image, imparting a vintage, gritty, or atmospheric quality.
Artistically used noise can lend a sense of realism, rawness, or nostalgia to a picture.
It can be especially effective in black-and-white photography, where the graininess can enhance contrast and add depth.
In this context, the conventional wisdom about noise and image quality can be turned on its head: the noise, instead of detracting from the image, becomes an integral part of the artistic expression.
While the goal in many photographic scenarios is to minimize noise, it’s worth remembering that it can sometimes be just the thing you need to create a unique, evocative image.
Photography is, after all, a form of art, and noise – like any other element – can be manipulated to serve the artist’s vision.
Digital Noise, Image Quality & Noise Reduction FAQs
What does noise in photography mean?
In photography, noise refers to the random grainy speckles that appear in digital images, often degrading the image quality.
Why is noise important in photography?
Noise is important in photography because it can negatively impact image quality. Understanding and controlling noise can enhance the clarity and detail in your photos.
What are the different noise types in photography?
In digital photography, the two main types of noise are luminance noise, which affects light and dark areas, and color or chroma noise, which introduces random color specks.
How does noise affect an image?
Noise can make an image look grainy, obscure fine details, distort colors, and ultimately lower the overall quality of the digital photograph.
Highly Recommended

Check out these 8 essential tools to help you succeed as a professional photographer.
Includes limited-time discounts.
Learn more here
Credit : Source Post


