
Did you know you can transfer your cherished photos to fabric in just a few easy steps?
Whether you want to personalize a tote bag, make a custom pillow, create matching t-shirts, or simply make unique patches to add to your patchwork quilt, this is the DIY project for you.
In this tutorial, I’ll tell you how to transfer your photos to fabric items for your next crafting project.
You only need a few materials, and it’s very easy to do.
Just a head’s up – it does take some time. So, don’t use this project to craft a last-minute present.
Now that you know this, let’s get crafty!
More fun DIY photo projects:
Materials
- Mod Podge Photo Transfer
- Brush
- Photo
- Fabric
- Water
- Wax paper/plastic (optional)
- Cardboard/cutting board (optional)
Process
Before you start working on this project, make sure you’re working in a space where you can leave the project for at least an entire day – that’s how long it takes to dry.
Step 1
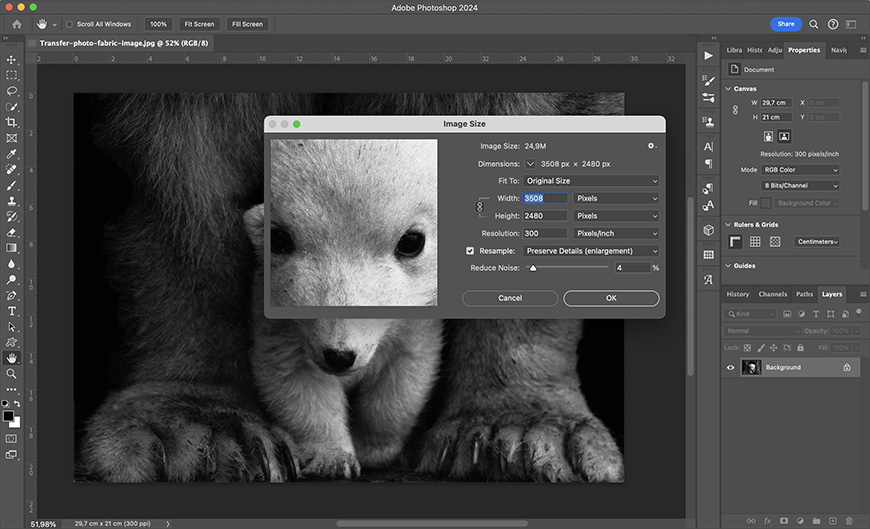
Photo from Robert Anthony Carbone
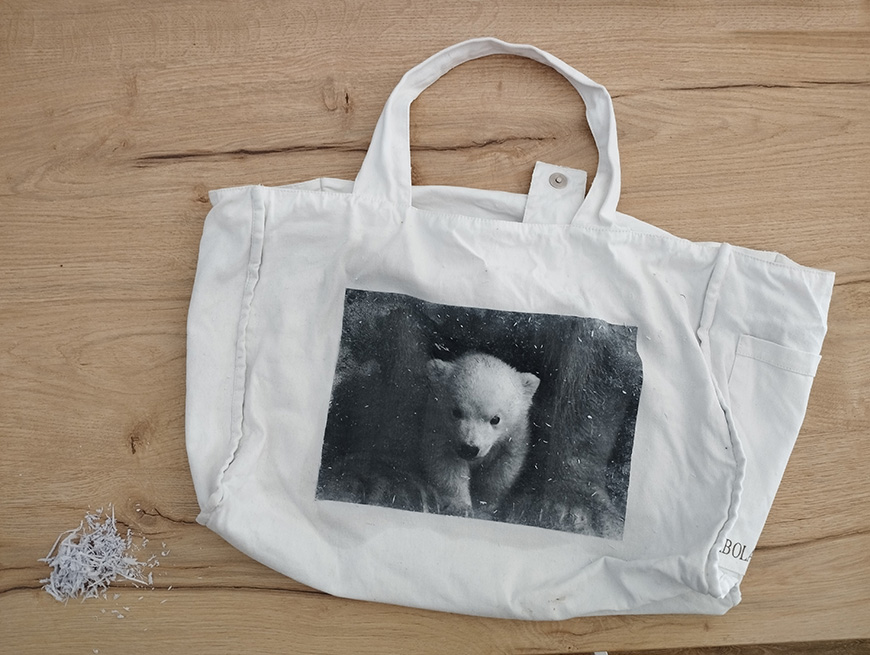
Find a photo you like and resize it to fit the fabric item where you want to transfer it. In my case, it’s a big bag – so I’ll need an A4 photo.
You can use any size, but I advise starting with a small photo. This way, you’ll learn how the product works, and it will be easier to work on bigger projects in the future.
Also, this can be meticulous work that takes time and patience. If you start with a big photo, you might get frustrated before you fall in love with the work. However, if you’re into DIY, you enjoy crafting and know it takes time to get good results.
You can resize your photos with any editing program – I use Photoshop. Here, I need to go to the Image > Image Size menu. Make sure you set the resolution to 300 ppi.
Step 2
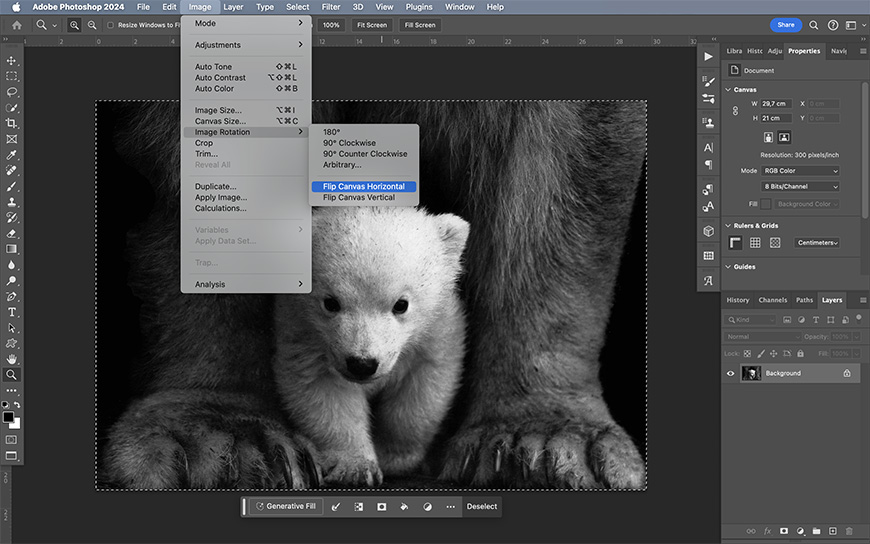
While you’re using your photo editing software of choice, mirror the photograph.
This is especially important if there’s text on the photo, but also for images such as portraits.
Otherwise, features like birthmarks would appear on the opposite side of the face, so it’s good practice to mirror your photos even when there’s no text.
In Photoshop, you can mirror an image by going to the menu Image > Image Rotation > Flip Canvas Horizontal.
Step 3
Once it’s ready, you need to print your image using the type of dry toner used in laser printers. If you don’t have one at home, ensure that’s the process used at your local printer.
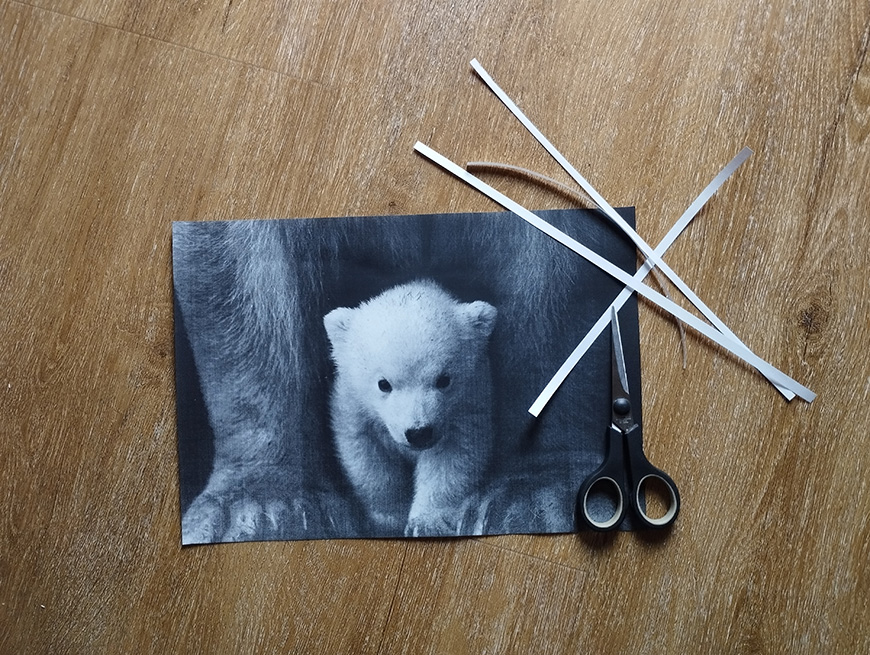
Use regular printing paper, not photographic one. Then, cut away the white borders (unless you want to keep them on the transfer).
Step 4

This step can be messy – so I recommend you cover your workspace with plastic or wax paper.
Then, pour Mod Podge Photo Transfer on your print. It needs to be on the print side – not on the back like some other transfer projects we’ve done here in Shotkit.
I find it easier to spread the Mod Podge using a foam brush, but a regular brush also works.
How Much Do You REALLY Know About Photography?! 🤔
Test your photography knowledge with this quick quiz!
See how much you really know about photography…

Make sure you cover the entire print. Anything left without Mod Podge will result in a blank spot on the transfer. You need to go over the edges to make sure they are covered, too – that’s why I suggested you cover your working area.
While you need to use a generous amount, don’t exaggerate. Any Mod Podge that spills outside the transfer when pressing it on the fabric will create a white stain.
Step 5

Now, you need to put the print on the fabric. I covered my cutting mat with a plastic bag and put it inside the fabric bag – this way, I could ensure that the transfer wouldn’t pass to the other side of the bag.
Of course, this isn’t always necessary; it depends on the fabric and the type of project you’re doing. You don’t need to worry if you’re transferring your photo onto a single layered piece of fabric.
In any case, you need to carefully place your print covered in Mod Podge on the fabric. You need to be precise on the first try – moving it afterwards could smear the fabric or leave part of the print without the product.
Once in place, carefully press the print evenly so there are no air bubbles underneath. Remember that anything that does not touch the fabric will result in a blank spot.
Step 6
Once this is ready, you must wait at least 24 hours. Even if it feels dry before that time, you shouldn’t risk compromising the project.
If there’s humidity in the air, you should wait longer.
Step 7
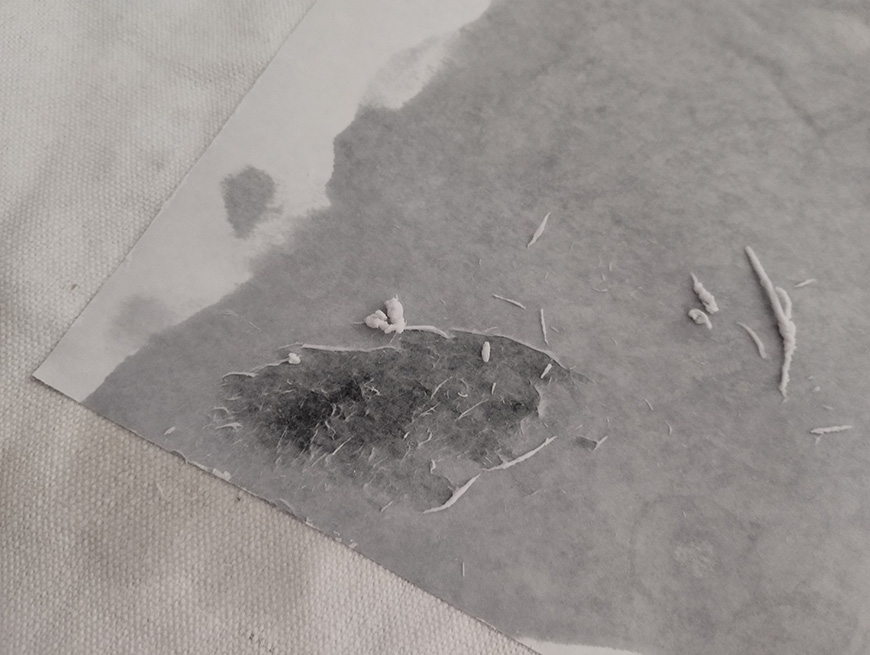
Once enough time has passed, start damping the print and slowly peeling the paper away. You must be very gentle so you don’t accidentally peel the image, too.
This is the meticulous work I was telling you about at the beginning.
Step 8
Once the image looks ready, let the fabric dry. You’ll probably notice some haze on the image as it dries – this means there’s still some paper to peel off.
If this is the case, just repeat step seven as many times as necessary.
Now, your photo project is ready.
Credit : Source Post


