Film lighting is a crucial part of videography and cinematography.
It has the power to change and enhance the mood, tone, and storytelling of a film.
Whatever your filmmaking aims are, understanding basic lighting techniques is essential for creating visually captivating pieces.
In this article, I will provide you with some key lighting techniques, explore some examples, and offer tips and tricks for anyone looking to improve their cinematography skills.
9 Film Lighting Techniques Every Filmmaker Should Know
Lighting is arguably the most important aspect of filmmaking, and the list of different lighting techniques goes deep.
In this section, I’ll explain some basic lighting techniques that can help you start off on the right foot.
Here are nine simple yet effective beginner lighting techniques:
Three Point Lighting
A three-point lighting setup is made up of a key light, a fill light, and a backlight.
It’s a standard lighting setup that is used in most media settings.
Because the three lighting sources are used in three separate positions, they can be adjusted to manipulate shadows and ensure the subject is in the best possible lighting situation.
This flexibility makes it a highly practical lighting setup and one of the most commonly used film lighting techniques.
Key Light
The key light is the primary and most dominant light source.
It’s typically placed slightly above the subject at an angle of 30-45 degrees.
Back Lighting
Here, the light source is placed behind the actor/key subject, facing towards the camera.
It creates a rim of light behind the subject, adding depth and directing the audience’s focus.
It’s sometimes used to create a silhouette for dramatic effect.
Depending on the shadow intensity and color temperature, it can completely change and shape the mood of a scene.
A lot of backlighting is used to create a dark and gloomy setting to create a dramatic and suspenseful effect.
Fill Light
A fill light is used to counter any shadows that have been cast by the key light.
It’s placed opposite the key light and at a lower intensity.
It helps even out the lighting, reducing contrast and making the scene look more natural.
Essential for balanced, flattering visuals, a fill light adds depth without overpowering the main light source.
Natural Lighting
Natural lighting is the lighting you already have without artificial lighting at your filming location.
If you want to use natural lighting in your work, it’s a good idea to visit your location prior to filming to know what the lighting situation is at different times of the day.
Using natural light in your film creates an authentic and naturalistic look for your project.
Consider the time of day and weather conditions when using natural light as your main source of film lighting. Planning ahead is crucial!
High-Key Lighting
High-key lighting combines bright, even illumination with soft light, minimizing shadows for a uniformly bright scene.
This technique reduces contrast, using a key light and additional sources to achieve a gentle, warm atmosphere.
High-key lighting is often used for cheerful, uplifting scenes with a light atmosphere.
Low-Key Lighting
A low-key lighting scene is characterized by its contrast-rich illumination and prominent shadows.
Opposite to high-key lighting, the ratio here between light and dark is high, resulting in deep shadows and dramatic low light.
The emphasis on shadows plays an important role in creating mood and atmosphere, portraying an ominous and foreboding nature.
Low-key lighting is mainly used to create suspense, mystery and tension.
Soft Light
Soft lighting involves using light sources that emit diffused, gentle illumination, creating an environment with minimal shadows and low contrast.
This technique results in smooth, flattering lighting that enhances the subject’s features.
Large softboxes are commonly used to achieve this effect, spreading the light evenly to soften its impact.
This type of lighting is gentle on the eyes, casting a soft, flattering glow that can add a youthful appearance to faces.
It’s versatile enough to be used as a fill light, complementing the main light source to balance the scene.
You’ll often see soft lighting used in gentle, romantic scenes, where it evokes warmth and intimacy.
Hard Light
This cinematic lighting technique uses harsh light sources such as direct sunlight or focused spotlights to create sharp lines and well-defined shadows.
It will highlight anything and everything in the frame.
The shadows hard light creates are great for adding drama and intensity, which is why it’s often used for dramatic scenes.
Do note that hard lighting can be challenging for filmmakers as the shadows are hard to manipulate and can create unflattering lighting effects.
4 Film Lighting Examples from Famous Movies
Lighting in cinema is more than a practical necessity; it’s a crucial artistic tool that filmmakers use to change mood, enhance storytelling, and evoke emotions.
From stark contrasts to soft, diffused glows, the way light is employed can profoundly impact the viewer’s experience.
Here are some iconic film lighting examples from famous movies and how they’re used:
Blade Runner (1982)

Ridley Scott’s film Blade Runner is a great example of how lighting is used to set the mood of a film.
The sci-fi film is famously known for its low-key lighting throughout, with the majority of the scenes being set in a dark city illuminated by artificial lighting.
The low-key lighting technique in this film casts a lot of shadows and bright highlights to create a sense of mystery and intrigue.
A stark contrast is created between the high-key lighting of the neon lights and the low-key lighting of dark alleys and streets.
The chiaroscuro lighting is predominantly used to create a dangerous and illusive atmosphere, which fits in well with the film’s dystopian genre.
Another lighting technique used throughout is backlighting the characters against a bright artificial light to create a silhouette.
Neon signs, street lights, and brightly lit billboards are used for practical lighting, serving a functional purpose for the film’s narrative and adding drama to the scene.
Finally, in contrast to the use of shadows, the film also introduces occasional soft ambient lighting for the romance scenes, which are mostly shot indoors.
Moonlight (2016)
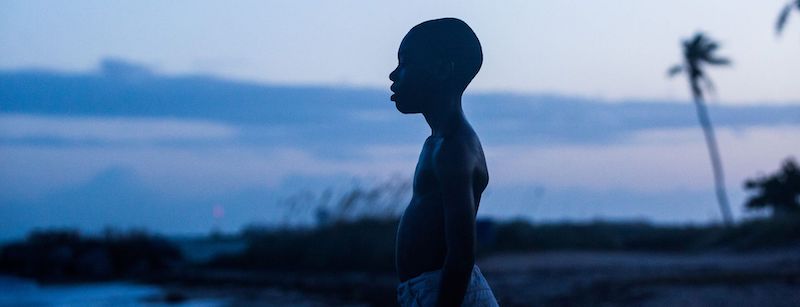
Barry Jenkins used predominantly natural light in his filming of Moonlight.
The use of soft natural light was a key element in the romance scenes, which were often shot outside, creating a sense of warmth and intimacy.
Using the sun and especially the moon as natural light sources was effective in providing just enough illumination of the character’s features without overpowering the scene.
Given the film’s title, the moonlit scenes played a symbolic role throughout the narrative. The most striking scenes were set at night, under the soft glow of moonlight.
This lighting technique was important in laying out the quiet beauty and contemplation of the film’s themes of identity and self-discovery.
The soft flattering use of moonlight also portrayed a sense of beauty and romance.
The Revenant (2015)
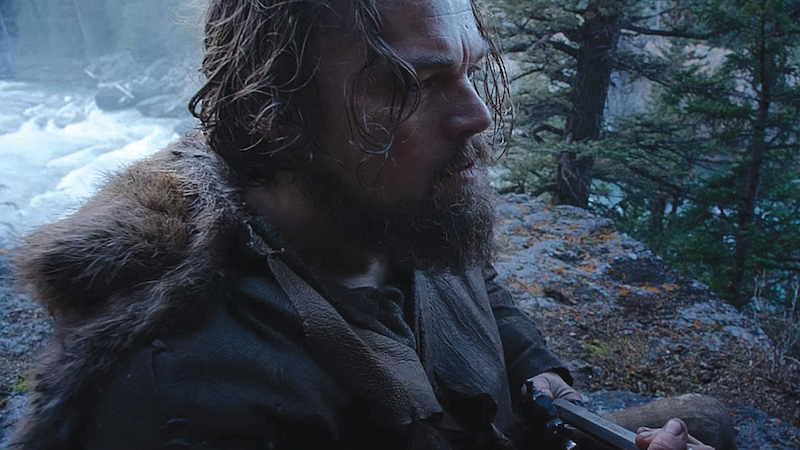
Shot entirely using natural light, Alejandro Gonzalez achieved a heightened sense of realism in his film The Revenant.
Filmed during specific times of the day to capture the desired lighting conditions, Gonzalez shot breathtakingly beautiful landscapes illuminated solely by the sun.
This film makes effective use of silhouettes and contrasts with 3-point lighting to create visually dynamic compositions.
Characters are often framed against bright skies or harsh landscapes as a backlight, their outlines starkly defined against the light.
A Clockwork Orange (1971)

In Stanley Kubrick’s A Clockwork Orange, there are many scenes where low-key lighting is prevalent.
Characterized by the deep shadows and dramatic contrasts between light and dark, low-key lighting heightens the film’s atmosphere of menace and intrigue.
Additionally, Kubrick incorporates soft, diffused lighting to create a contrast to the high contrast and harsh lighting of the artificial lighting used.
In certain scenes, soft lighting is used to highlight moments of intimacy and vulnerability.
This contrast in cinematic lighting style and techniques adds depth and complexity to the film’s narrative, allowing for respite amidst the chaos.
Film Lighting: Key Definitions Every Filmmaker Should Know
- Accent Light: Accent lighting focuses the light direction on a particular area or subject.
- Softbox: Used to diffuse lighting by attaching it over the artificial light.
- Barndoors: Moving doors that are attached to the sides of the light to control and direct the beam.
- Beadboard/Bounceboard: Polystyrene board used to bounce, soften and diffuse light.
- C-Stand: Used as a mount for light-modifying equipment.
- Gaffer: Head lighting technician on set.
- Hotspot: A very bright area in a scene caused by too much lighting.
- Motivated lighting: Lighting that looks natural, enhancing realism for the audience.
- Practical lighting: Use of actual functional light sources that are visual on screen.
- Rembrandt lighting: Illuminating the subject from a specific angle to create a distinctive triangular highlight on one side of the face.
- Rigger: Member of the lighting crew responsible for setting up and securing equipment.
- Chiaroscuro effect: Lighting technique characterized by strong contrasts between light and dark to create depth and add dramatic tension.
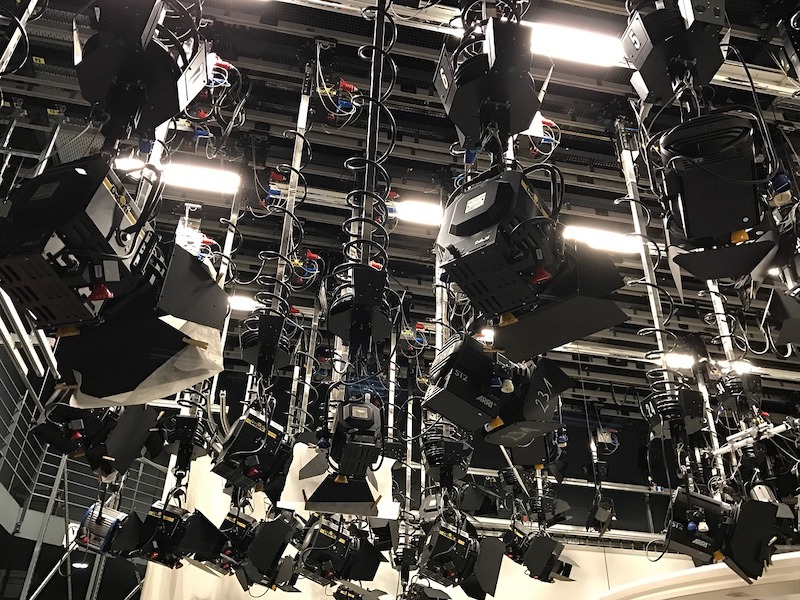
Essential Film Lighting Equipment & Gear
Behind every captivating scene lies a careful selection of equipment and gear designed to achieve the desired lighting effects.
Here are some of the essential tools used by filmmakers to illuminate their vision on screen:
Light Fixtures
Tungsten Lights:
Known for their warm, natural quality of light, these are great to use for interior scenes.
HMI Lights:
These powerful lights are ideal for outdoor scenes or simulating sunlit indoors.
LED Lights:
These energy-efficient lights come in various sizes and color temperatures, making them adaptable to different scenes.
Modifiers
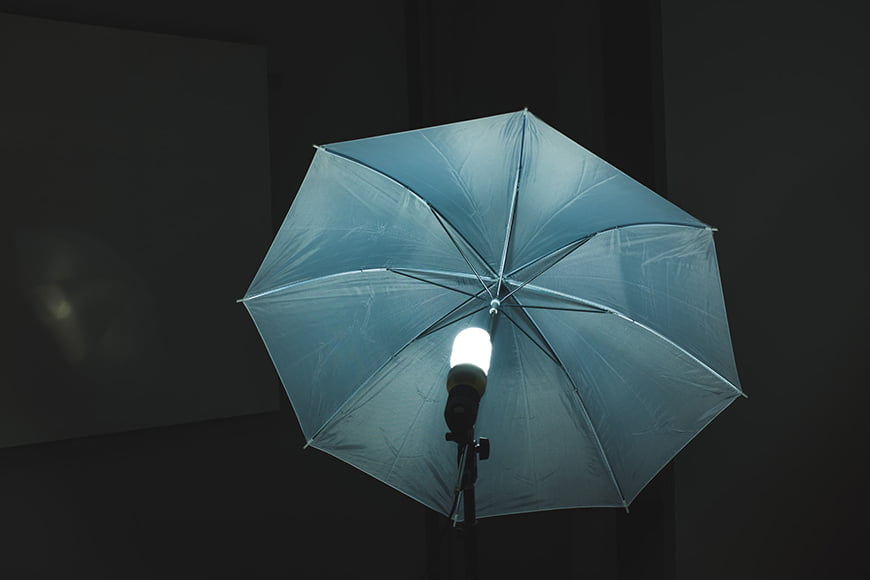
Credit: NeONBRAND
Softboxes:
You can use softboxes to diffuse illumination and create soft, flattering light.
Reflectors:
These come in various shapes and sizes and are used to bounce and manipulate light.
Glags and Gobos:
These are used to block or shape light, making it easy to control its direction and intensity.
Lighting Control Tools

Dimmers:
Dimmers are an ideal tool to have to smoothly adjust the brightness of lights.
Gels and Filters:
You can use these to modify the color temperature or add creative filters.
Lighting Controllers:
These allow you to control multiple lights, allowing for coordinated adjustments.
Mounting Equipment

C-Stands:
Used to support lights and modifiers.
Boom Arms:
Mount your lights on extendable booms to position the lights overhead or in hard-to-reach places.
Clamps and Grips:
The unsung heroes of the lighting world, these tools are essential for securing lighting equipment.
Lighting Accessories
Barn Doors:
Attach to your light fixtures to control the spread of light.
Scrims:
Fabric screens that are placed in front of lights to reduce intensity.
Diffusion Material:
Use different diffusion tools to soften and diffuse harsh light to create a more flattering and natural-looking illumination.
These pieces of essential lighting equipment and gear will help with having a successful film production, enabling you to harness the power of light to bring your cinematic vision to the screen.
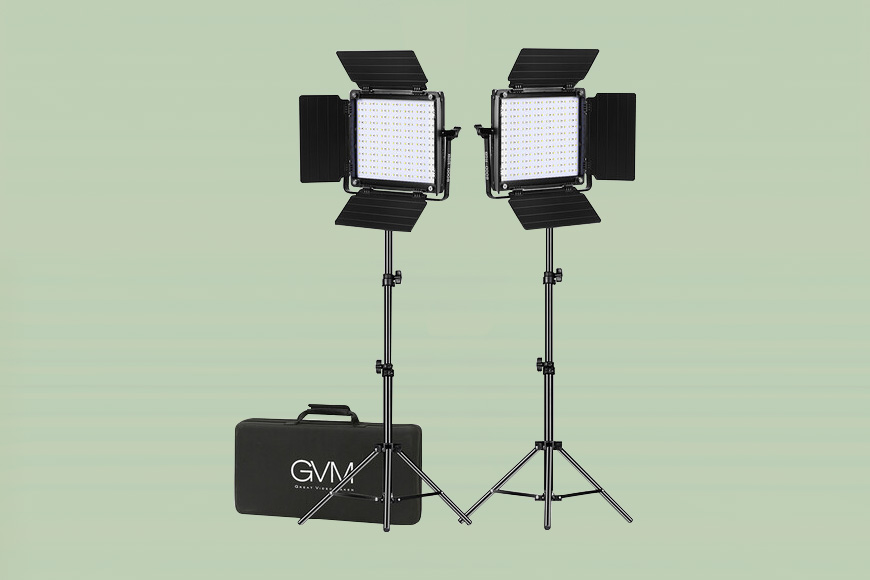
Film Lighting for Beginners: a Basic Setup for Everyday Video

Image Credit: Unsplash
Whatever you wish to film, understanding the basics of film lighting can significantly enhance the visual quality and impact of your videos.
Here is a simple yet effective three-point lighting setup suitable for beginners that can be used for a wide range of video projects. To create it, you need a key light, fill light, and backlight, plus a few extras.
1. Key Light:
The key light is the primary light source and plays a very crucial role in illuminating your subject.
Position it to the side at a 45-degree angle and slightly above eye level.
Experiment with distance and intensity until you reach your desired look.
2. Fill Light:
Counter the key light by using a fill light to reduce shadows and balance out the overall lighting.
Place it opposite the key light at a lower intensity to fill in the shadows without overpowering the scene.
3. Backlight:
Adding a backlight behind your subject can help separate them from the background and add depth to your shots.
Position it slightly above and behind the subject and be mindful of the intensity to avoid overexposing the background.
4. Adjusting Color Temperature:
Pay attention to the color temperature of your lights to ensure consistency and accuracy.
Make sure to match the color temperature of all your lights to avoid color casts.
5. Diffusion and Control:
Experiment with diffusion materials, such as softboxes, umbrellas, or panels.
Play around with them and try to soften and spread the light evenly across your subject.
Additionally, use flags, barn doors or gobos to control the direction and spill of light, preventing unwanted reflections and shadows.
By following these steps, beginners can create more professional-looking content.
Remember to experiment, practice, and refine your techniques to develop your unique cinematic lighting style. As you gain experience, you can explore more advanced lighting setups and techniques.
Mastering film lighting requires practice, experimentation, and a keen eye for details.
By understanding basic lighting techniques, studying examples from films, and implementing practical tips, you can elevate your cinematography skills and create compelling scenes that captivate audiences.
FAQs
What are the 3 main types of lighting in film?
Key lighting, fill lighting and backlighting are the three foundational elements of a cinematic lighting setup. Each serves a different purpose in illuminating the subject and creating depth and dimension in the scene.
How do you get good lighting in film?
Use a combination of key, fill and backlighting to properly illuminate your subject.
Experiment with diffusion and control tools to soften and shape the light for desired effects.
Who determines the lighting setup for a scene?
The gaffer plays a significant role in overseeing the lighting crew and executing the lighting setup.
What is the best lighting for film cameras?
It depends on the desired mood and atmosphere of the scene, but soft, diffused lighting is often preferred as it creates flattering illumination and soft shadows and looks generally more pleasing on the scene.
How do you measure light in cinematography?
Light can be measured using a light meter, which provides readings of the light intensity in terms of exposure values.
What is the most common lighting in film?
Three-point lighting is the most common lighting setup as it’s versatile and provides illumination of the subject, fills in shadows, and adds depth.
It can be adaptable and changed to adapt to different scenes.
What are gels in film lighting?
Gels are thin colored filters placed in front of the light source to alter the color temperature or add effects.
Credit : Source Post


